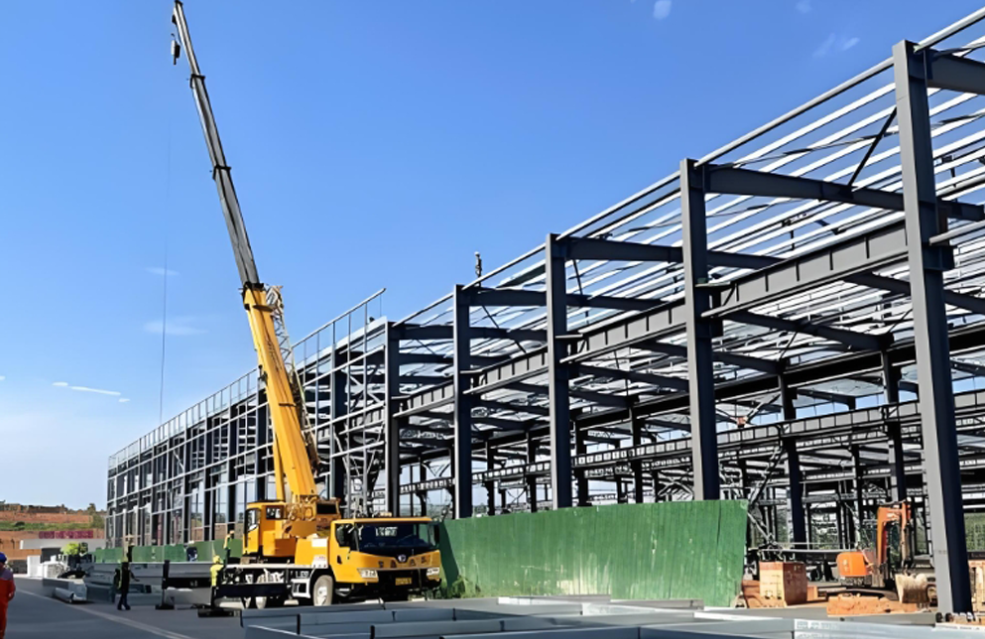
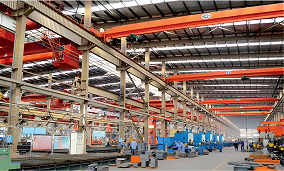
Detailed Construction Process for Steel Structure Canopy

Material Preparation and Cutting
Mark and number materials according to the construction drawings, allowing for weld shrinkage and machining allowances. Create templates based on the marking.
Steel Straightening: Straighten steel materials before cutting. Deviations after straightening must not exceed the allowable tolerances specified in the codes to ensure cutting quality.
Process hot-rolled sections while hot and mark holes after cooling.
Cut, drill, and apply anti-corrosion paint to steel plate embedded parts and other components.
Surveying and Setting Out
Use the civil engineering elevation benchmark to survey the elevation centerline of embedded parts. Check for elevation deviations and left/right displacements of embedded parts.
Analyze the results and determine the adjustment plan for the embedded part layout.
Mark the top elevation line of embedded parts with an ink line along the outer edge of the floor slab.
Embedded Part Installation and Treatment
Position the embedded parts, drill holes, and install them.
Requirements: Embedded parts must be accurately positioned and securely fixed. Elevation tolerance ≤ 9mm; Displacement tolerance ≤ 20mm.
Cantilever Arm Installation and Welding
Install cantilever arms by welding. Inspect weld joints and adjust the cantilever arms to the design slope before welding commences.
After accurately installing the first cantilever arm, install the opposite one. Tack weld it once accurately positioned.
Using these two arms as a baseline, establish the highest and lowest elevation lines for the remaining cantilever arms. Weld all remaining cantilever arms and weld the seamless steel tubes.
When splicing sections, weld the joint first and then straighten it.
For section-to-embedded plate connections, chamfer the edges as per design requirements to ensure tight contact between the section and the embedded plate.
Use run-on/run-off tabs at both ends of butt welds; the tabs should match the base material and groove type. Remove tabs by gas cutting after welding and grind smooth.
Calibration and Inspection
Verticality deviation of the cantilever arm surface.
Lateral sag of the compression side of the cantilever arm vertical plane.
Slope of the cantilever arm.
After installation, first inspect the quality of on-site connections for the cantilever arms.
Key inspection items for cantilever arm installation quality:
Ensure the cantilever arms meet the design load requirements and overall stability criteria.
Connection of Load-Bearing Cables
Set out baseline and elevation lines for tension rods. Install embedded parts as required and weld the railings.
Stainless Steel Glass Clamp Installation and Welding
Mark out gridlines and design elevations according to dimensions. Use clamps to hold components tightly in place for tack welding.
After assembly, weld the glass clamp bases.
Anti-Corrosion Painting Treatment
Remove all welding slag and spatter.
Apply multiple coats of anti-corrosion paint (white paint for stainless steel components) to the surface. The type of paint and dry film thickness must comply with design requirements or construction codes.
Ensure no missed areas, especially on the inner surfaces of structural sections.
Fabrication and Installation of Laminated Glass
Determine glass dimensions and their horizontal/vertical positions based on design requirements and actual field measurements. Fabricate by the manufacturer.
Install stainless steel glass clamps. Temporarily fix the glass, then adjust it to achieve level, plumb, and flat surfaces. Deviations shall not exceed specified tolerances.
Adjustment and Inspection
Conduct overall adjustment and inspection of the point-supported glass system. Adjustment standard: level, plumb, and flat surfaces. Deviations shall not exceed specified tolerances.
Applying Sealant (Top and Bottom)
Thoroughly clean the gaps between glass panels, removing any water, oil, paint, rust, cement mortar, dust, etc.
Thoroughly clean and dry the bonding surfaces.
Use backing rods to control joint depth and prevent three-sided bonding.
Apply protective tape on both sides of the joint to prevent glass contamination.
Apply sealant simultaneously to the top and bottom joints. Smooth the sealant surface after application and remove excess material.
Remove protective tape after sealing. Clean glass with solvent if necessary.
Protect uncured sealant from dust and damage.
Repair and Final Inspection
Perform local repairs and conduct final inspection.
Glass Cleaning
After confirming all aspects are satisfactory, thoroughly clean dust and grime from the glass. Use solvent if necessary. Await final inspection and handover.


